How to make perfect chocolate cake at home
Eman mani · July 6, 2026
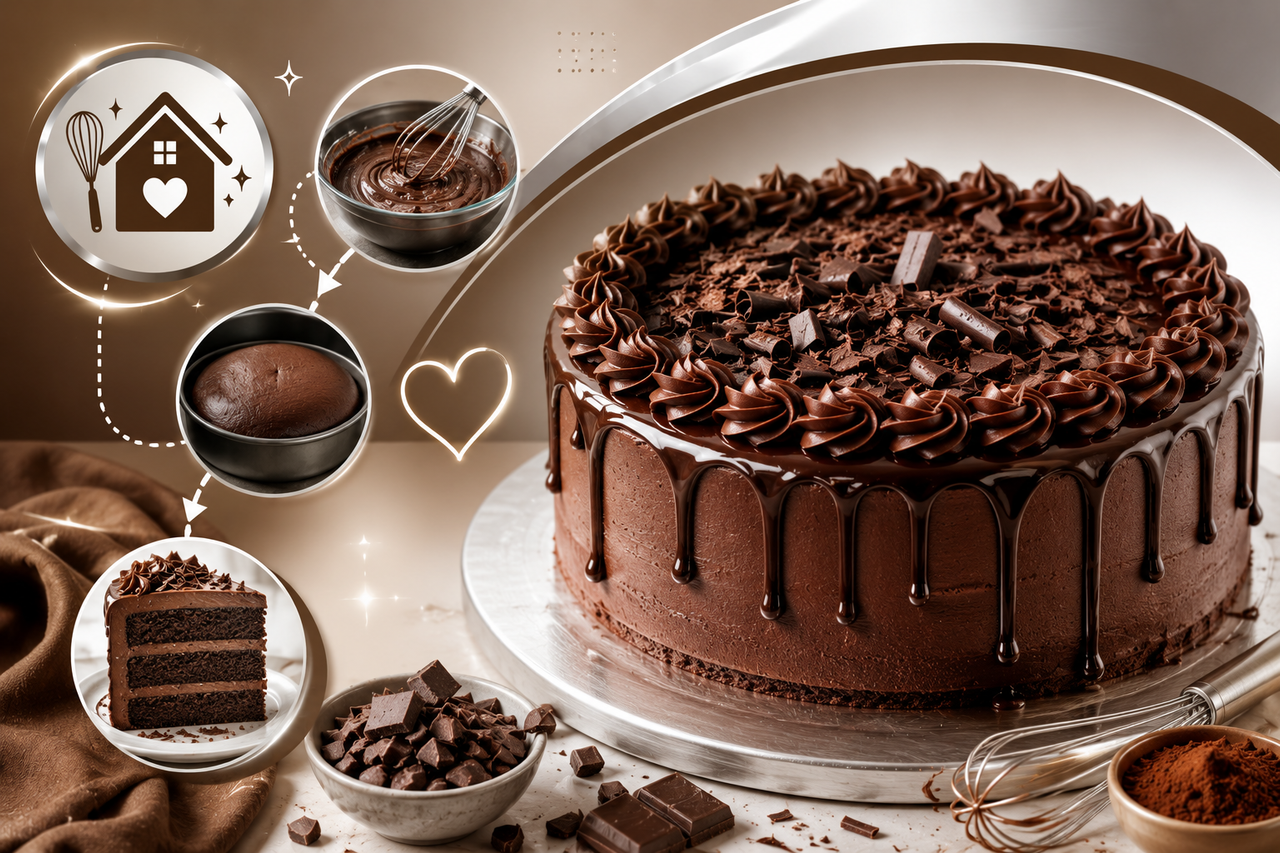
Here are the recipes to make different type of delicious cakes at home with the ingredients that provide amazing taste. Enjoy.
Homemade Chocolate Cake Recipe: Simple & Foolproof We all know chocolate cake is pretty much universally loved – a moist, rich, incredibly satisfying classic that comforts us in times of joy and sorrow. But let’s be real, baking a great chocolate cake can be a little intimidating! The fear of dry, dense, or flat cakes hangs heavy over many home bakers, making us think professional training and fancy equipment are the keys. The good news is, an absolutely fantastic chocolate cake is totally within your reach without all the fuss! It’s all about the right ingredients, the right method, and a few tricks that bakery pros have been keeping under wraps. This step-by-step recipe and breakdown of why each step works will set you up to bake a beautiful, delicious chocolate cake at home that’ll have everyone begging for seconds, guaranteed. --- Why Does Chocolate Cake Sometimes Come Out Wrong? Before we get to the baking part, let’s talk about the usual suspects behind chocolate cake fails: - Overmixing the batter: Overdeveloping the gluten leads to a tough, dense texture. - Using cold ingredients: Cold fats and liquids don't blend well, creating an uneven crumb. - Opening the oven too soon: Rapid temperature changes can cause your precious cake to sink right in the middle. - Overbaking: Dries out the cake, leaving you with sad, crumbly layers. - Forgetting to 'bloom' your cocoa powder: This step significantly intensifies the chocolate flavor, and skipping it leaves the flavor a bit flat. Keep these pitfalls in mind as we go through the recipe – they’re easy to avoid with a little know-how! --- What You Need to Bake Your Best Chocolate Cake This recipe creates a rich and wonderfully moist two-layer 8-inch chocolate cake with classic pantry ingredients. For the Cake: * 2 cups all-purpose flour * 2 cups granulated sugar * 3/4 cup unsweetened cocoa powder * 2 teaspoons baking soda * 1 teaspoon baking powder * 1 teaspoon salt * 2 large eggs, brought to room temperature * 1 cup buttermilk, brought to room temperature * 1 cup hot coffee (or hot water – seriously, the coffee amplifies chocolate flavor without tasting like coffee!) * 1/2 cup vegetable oil (or other neutral oil like canola) * 2 teaspoons vanilla extract For the Rich Chocolate Frosting: * 1 cup unsalted butter, softened to room temperature * 1 1/2 cups unsweetened cocoa powder * 4-5 cups powdered sugar (start with 4, add more for thicker frosting) * 1/2 cup milk or heavy cream, at room temperature * 2 teaspoons vanilla extract * 1/4 teaspoon salt (just a pinch!) --- Step 1: Get Your Pans and Oven Ready Fire up your oven and preheat it to 350°F (175°C). Take two 8-inch round cake pans and generously grease them, then line the bottoms with parchment paper circles. This double-layer of greasing and parchment paper is a bakery secret that guarantees your cakes will slide right out, every single time. --- Step 2: Combine Dry Ingredients In a big bowl, vigorously whisk together your flour, sugar, cocoa powder, baking soda, baking powder, and salt. Whisking thoroughly, not just stirring, helps distribute the leavening agents (baking soda and powder) evenly. This is key to a uniform rise and prevents any unpleasant dense pockets in your cake. --- Step 3: Introduce the Wet Ingredients Now, add the room-temperature eggs, buttermilk, vegetable oil, and vanilla extract to the dry mixture. Using your mixer on medium speed, blend everything together for about 2 minutes until it’s all nicely incorporated. Why Buttermilk? It’s the secret weapon for tenderness! Buttermilk is acidic, and it reacts beautifully with baking soda to create that wonderfully light and fluffy texture. It also adds a subtle richness and depth of flavor that milk just can’t match. --- Step 4: Pour in the Hot Liquid (The Magic!) Here’s where the real magic happens: with the mixer on low speed, slowly stream in your hot coffee (or hot water). The batter is going to look very thin, almost soupy. Don’t panic! This is exactly what you want. This thin batter is the foundation of an unbelievably moist cake. What's the Coffee Do? Heat and the finely ground coffee particles together "bloom" the cocoa powder, waking up its natural, intense chocolate flavor. It enhances the chocolate notes dramatically without actually making the cake taste like coffee. Seriously, it's a game changer! --- Step 5: Time to Bake! Pour your thin, chocolatey batter evenly into your prepared cake pans. Pop them into the preheated oven and bake for 30 to 35 minutes. How do you know when it’s done? Insert a toothpick into the center. It should come out with a few moist crumbs clinging to it – that’s perfect! If there’s wet batter, it needs more time; if it’s completely dry, it’s overbaked. Avoid Oven Opening! It’s crucial not to open the oven door for the first 20 minutes of baking. Any significant drop in temperature during the initial rising stage can cause the cake to collapse in the middle. --- Step 6: Cool Completely Before Decorating Let your beautiful cakes cool in their pans on a wire rack for about 10 minutes. Then, carefully invert them onto the wire rack to finish cooling completely, which usually takes about an hour. Patience is a Virtue (Especially for Cake!): If you try to frost a warm cake, your beautiful frosting will melt and slide off. It’s worth waiting until it’s entirely cool! --- Step 7: whip up the Luscious Chocolate Frosting While the cakes are chilling, whip up this decadent frosting: 1. Beat the softened butter until it’s creamy and pale yellow. This takes a couple of minutes and adds airiness. 2. Stir in the cocoa powder until it’s fully blended and there are no streaks. 3. Gradually add the powdered sugar, about a cup at a time, alternating with the milk or cream. Beat well after each addition until smooth and incorporated. 4. Add the vanilla extract and pinch of salt, then beat the frosting on high speed for 2-3 minutes until it’s light, fluffy, and oh-so-smooth. This extra beating time is what gives it that irresistible bakery-quality texture. Step 8: Assemble Your Masterpiece 1. Place one of your cooled cake layers on a serving plate or cake stand. I like to put it on its flat bottom so the top surface is smooth for frosting. 2. Spread a generous and even layer of the chocolate frosting over this first cake layer using an offset spatula or the back of a spoon. 3. Gently place the second cake layer on top, flat side down, to create a perfectly level top surface. 4. Now, cover the entire cake – the top and all the sides – with the remaining frosting. Smooth it with your spatula or get a bit creative! Pro decorating tip: Run the back of a spoon across the top to create soft, organic swirls, or drag a cake comb or even a fork along the sides for a textured, professional look that’s super easy to achieve. Fun Twists on Your Chocolate Cake Recipe Want to elevate your homemade cake from delicious to dazzling? Try these simple variations: 1. Chocolate Ganache Drip Cake Heat 1 cup of heavy cream and stir in 6 ounces of finely chopped dark chocolate until smooth. Let the ganache cool for a bit, then gently pour it over your frosted cake, allowing it to cascade down the sides for a dramatic, impressive finish. 2. Berry Chocolate Delight Spread a layer of fresh raspberries, sliced strawberries, or even chopped cherries between your cake layers along with the frosting for a burst of fruitiness to cut through the richness of the chocolate. 3. Salted Caramel Indulgence Drizzle a good quality salted caramel sauce over the first cake layer before adding the frosting. The sweet and salty combination is pure bliss! 4. Mocha Magic Stir 1-2 teaspoons of instant espresso powder into your frosting along with the other ingredients. This deepens the chocolate flavor subtly and adds a hint of coffee complexity. 5. Nutty Crunchy Exterior After frosting the cake, gently press chopped toasted hazelnuts, almonds, or walnuts onto the sides for a satisfying crunch and an elegant presentation. --- Foolproof Tips for a Perfect Cake Every Single Time * Room Temperature is King: Always make sure your eggs and buttermilk are at room temperature. They’ll combine much more smoothly, creating a better batter texture. * Measure Flour Right: Use the spoon-and-level method for measuring flour. Spoon it into your measuring cup and level off the top with a straight edge like a butter knife. Scooping directly from the bag packs in too much flour, which can lead to a dry cake. * Gentle Mixing after Flour: Once the flour goes in, mix just until it’s combined. Overworking the gluten will result in a dense, tough cake. * Check Doneness Early: Ovens can vary! Start testing for doneness a few minutes before the recipe suggests. * Give It a Breather Before Slicing: Let the frosted cake rest for at least 20-30 minutes before cutting. This helps the frosting set and prevents the layers from squishing.